Windows 365 Business and Enterprise has been around for the last year and the companies begin to see all the advantages to easy deploy a Windows pc.
In this post I want to show how easy it is to deploy Windows 365 Business for a user.
Are you a Small and Mid-size company that needs a company managed Windows PC for external consultants(Compliant device), MacOS users or temporarily need heavy compute power – Windows 365 is definitely a way to consider.
So how do you get started?
1. Assign a license
License manager / IT Admin
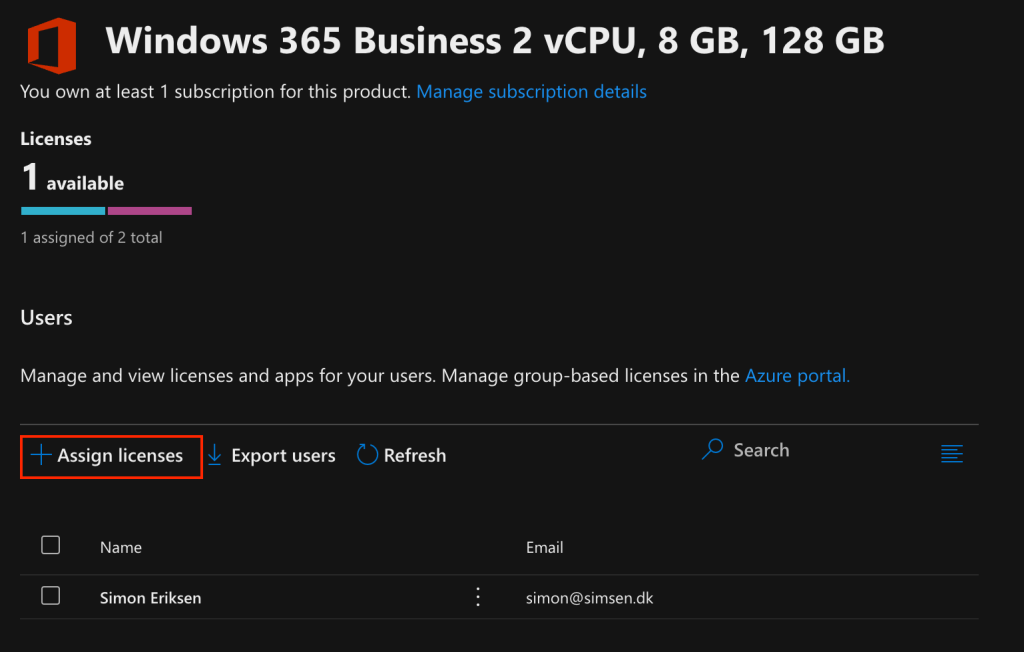
Go to https://admin.microsoft.com/ > Licenses > Windows 365 Business plan
Assign licenses for specific user.

2. Provision Cloud PC
Now we logon https://windows365.microsoft.com as the user – in this case my test user Cloud Eriksen.
In about 30min the new cloud pc will be provisioned.
3. Logon to the Cloud PC
Now the Windows 11 (Windows 365 Business) Cloud PC is ready.
There are 2 options to logon.
From browser
Click Open in browser from above picture.
From Microsoft Remote Desktop app
Things to be aware…
- Only Azure AD Join.
- Microsoft managed network, but VPN can be installed.
- W365 Business is limited to 300 users.
- Microsoft images only.
- Possible to self-reset and rollback to restore-point.
- Will be created in same location as your tenant(Not possible to change).
- No advanced MEM troubleshooting(Endpoint analytics).
- Windows 365 BPRT Permanent User will be created in the tenant(Do not delete).
- Price overview can been found here


